
User roles
| Role | What they can do |
|---|---|
| Admin | Full access: manage targets, run scans, view all issues, invite users, change workspace settings, manage billing |
| Scan User | Run scans, view targets and issues, manage findings (snooze, false positive). Cannot manage users or billing. |
| Viewer | Read-only access to targets, scans, and issues. Cannot run scans or change any settings. |
Inviting a user
- Go to Settings → Users.
- Click Invite user.
- Enter the user's email address.
- Select their role.
- Send the invitation.
The invited user receives an email with a link to create their account and join the workspace. They appear in the Users list with Disabled status until they accept and log in for the first time.
The Users list
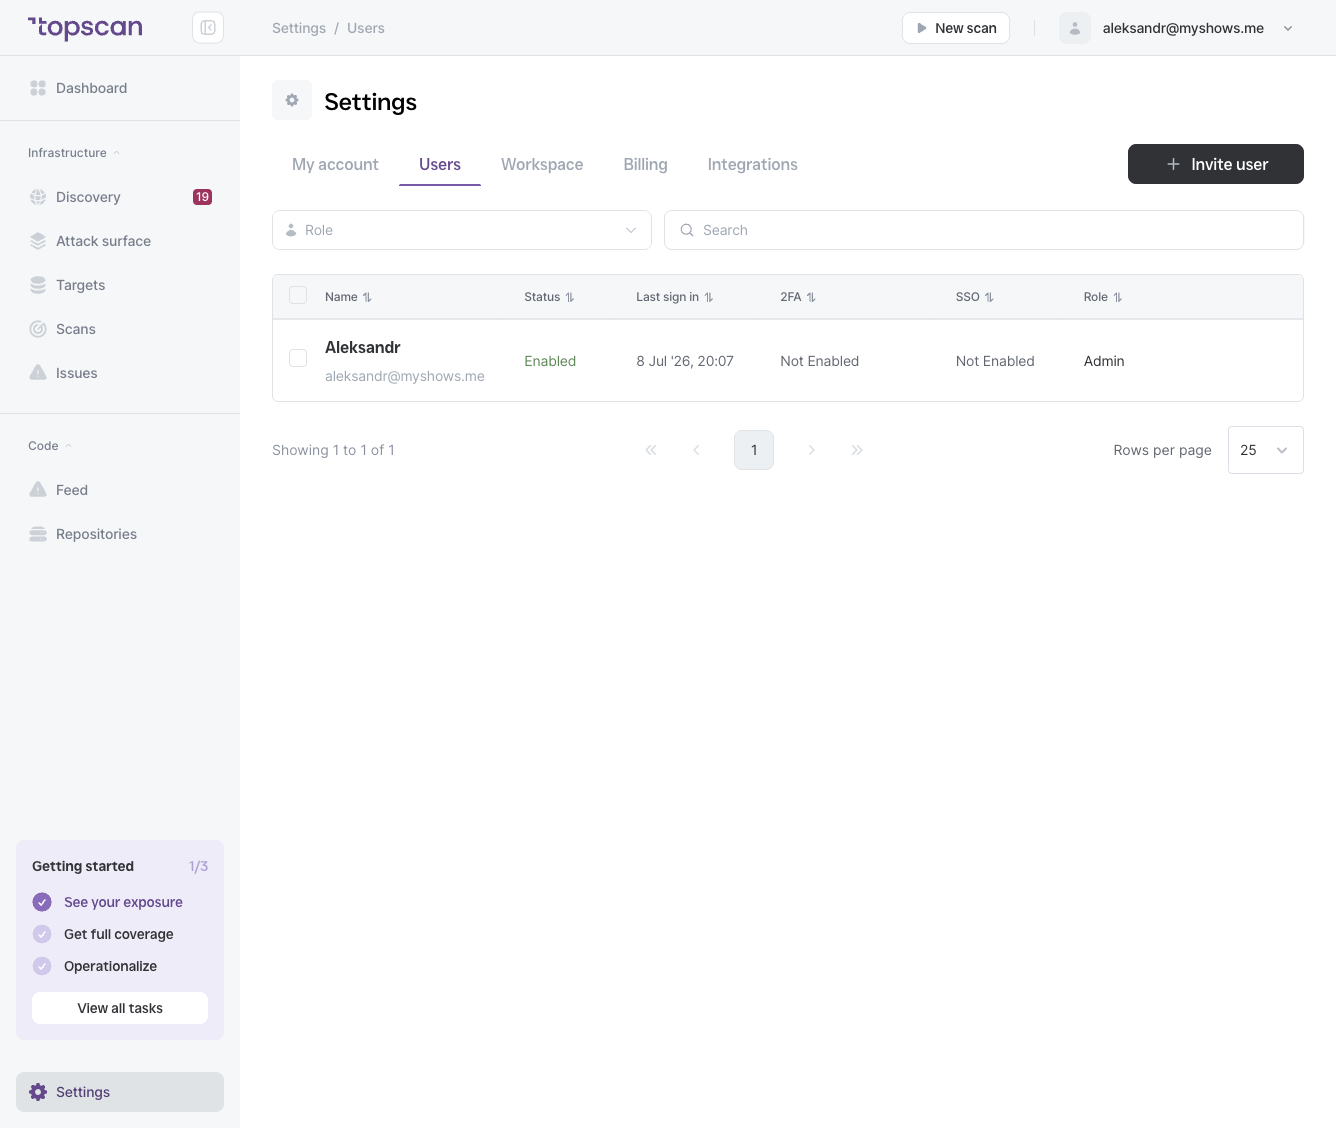
The Users table shows all workspace members with:
| Column | What it shows |
|---|---|
| Name / Email | User's display name and email |
| Status | Enabled (active) or Disabled (deactivated or not yet accepted) |
| Last sign in | Date of most recent login |
| 2FA | Whether two-factor authentication is enabled |
| SSO | SSO provider used (e.g. Google) or "Not Enabled" |
| Role | Current role |
Changing a user's role
Click the ⋯ menu on a user row to change their role or deactivate their account.
Deactivating a user
Deactivated users cannot log in. Their historical actions (scan results, activity) remain in the workspace. Deactivation does not free up a user seat immediately.