
Step 1 — Add a target
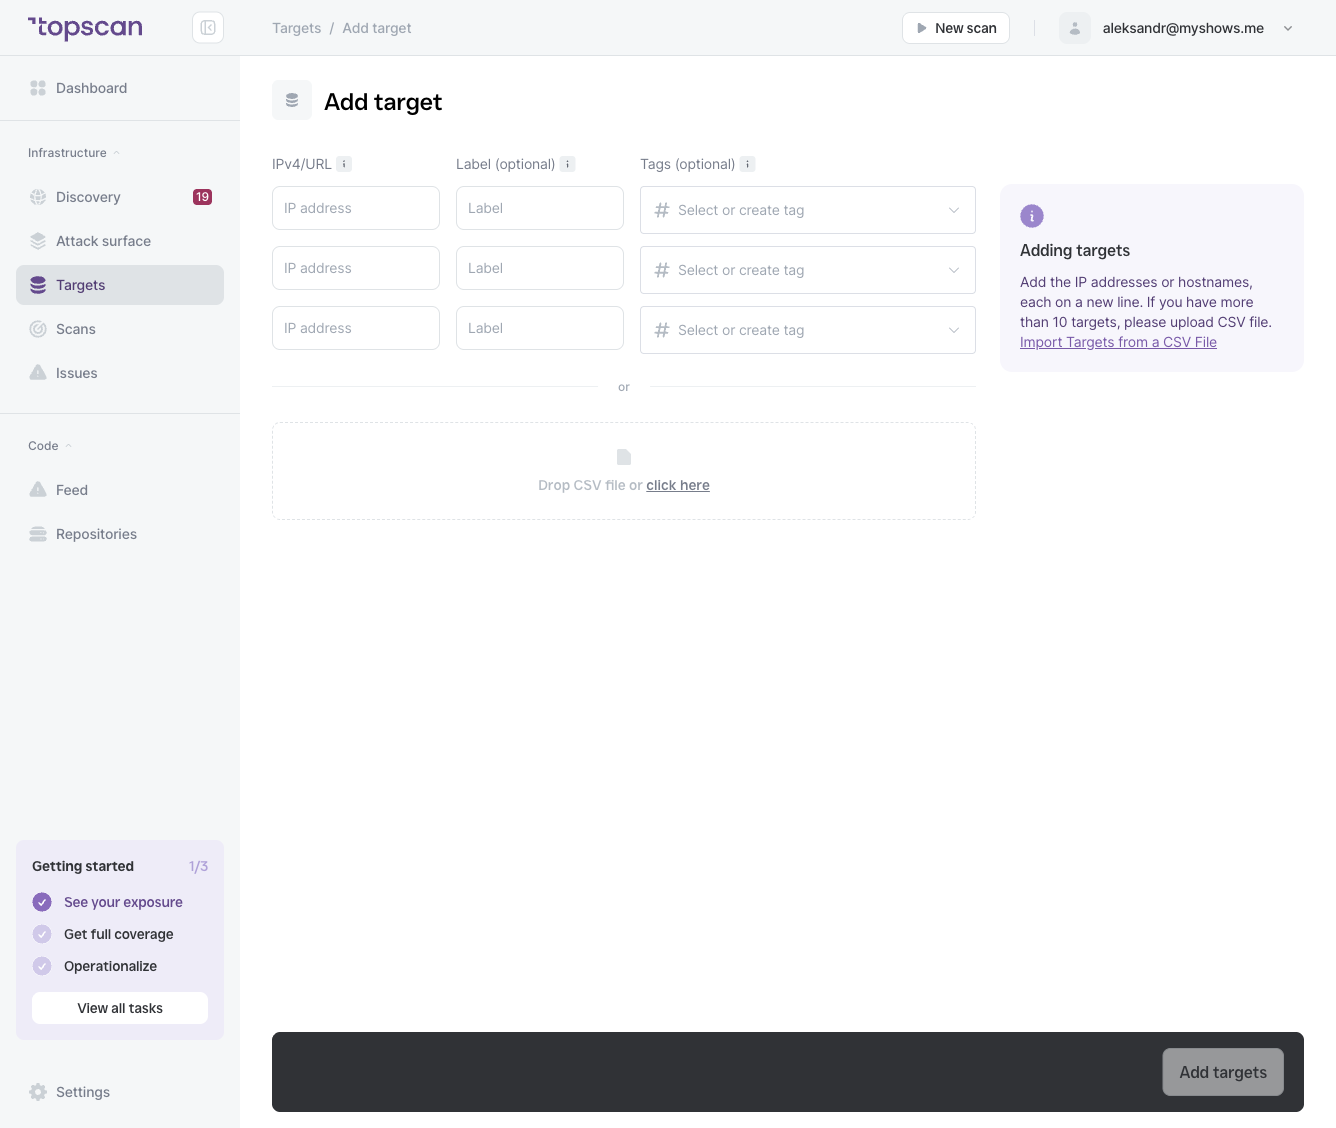
- Go to Targets in the left navigation.
- Click + Add target in the top-right corner.
- Enter the domain, subdomain, or IP address you want to scan (the IPv4/URL field).
- Topscan sets the target type automatically from what you enter — an IP address becomes Infrastructure, a domain or URL becomes Web Application. An Infrastructure target is checked for open ports, services, and network-level vulnerabilities; a Web Application target also gets web security testing.
- Optionally add a Label and Tags to organize targets by team, environment, or project.
- Click Add targets.
 to automatically find subdomains and related assets from a root domain, then add them as targets in one click.](/media/b/2e/b2e8220f7f5e06a0ae6b835090c4df1f.jpg)
Step 2 — Run a scan
Once your target is saved, you're ready to scan.
- Click New scan — the button is always visible in the top-right corner of the app.
- Select the target(s) or a tag you want to scan.
- The Summary block shows exactly what will run based on your selection (e.g. Port scan and Web application security testing for a web app).
- Optionally enable Deep web application testing for active OWASP Top 10 checks (SQL injection, XSS, SSRF, CSRF …). It sends real attack payloads and can take up to 3 hours — run it in off-hours or against staging.
- Click Run scan.
The scan appears under Scans → In progress with a progress indicator. When it finishes it moves to Completed scans.
Step 3 — Review the results
When the scan completes, it moves to Completed scans on the Scans page.
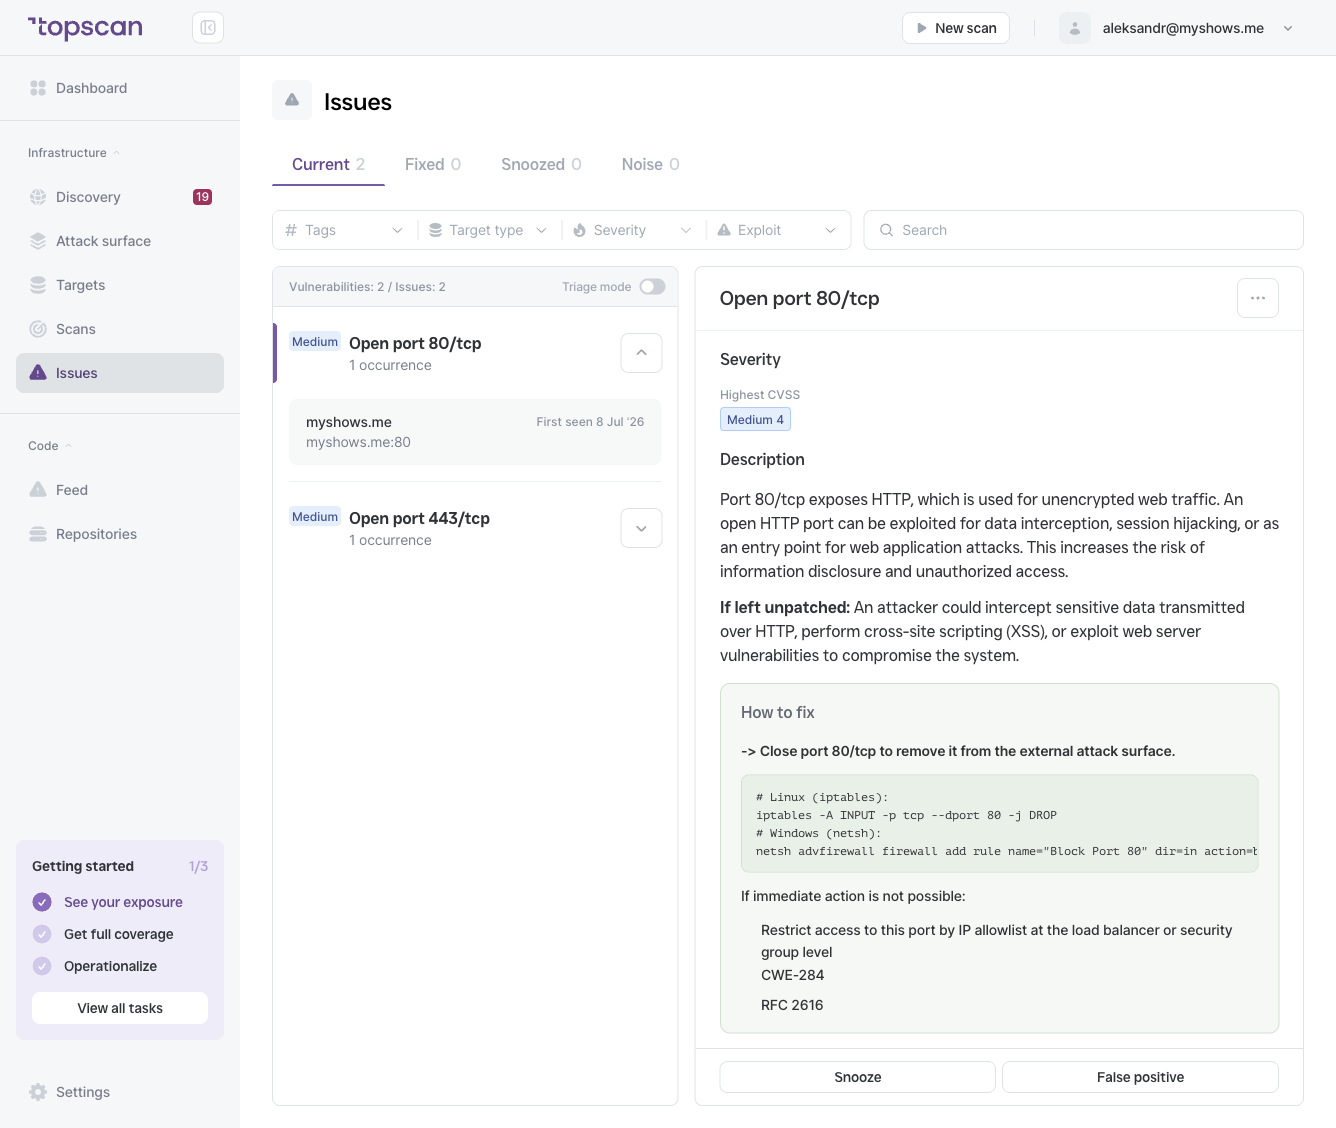
- Go to Issues to see all findings across your workspace, ordered by severity.
- Click any issue to see:
- Severity and CVSS score
- Affected target and specific location
- CVE references (where applicable)
- Remediation advice
- Issues marked Overdue have exceeded their SLA deadline and are affecting your Security Score.