
Creating a scheduled scan
- Click New scan from anywhere in the app.
- Select the targets or tags you want to scan on a recurring basis (the Summary block shows what will run).
- Optionally enable Deep web application testing for web targets.
- Enable the Schedule by toggle at the bottom of the form.
- Configure the schedule: frequency, day, and time.
- Click Run scan to activate.
The scheduled scan will appear in Scans → Scheduled.
The form also has an Event section — it generates a link that starts the scan from your own systems (CI/CD, deploy scripts). See Triggering scans from your systems (Event link).
Managing scheduled scans
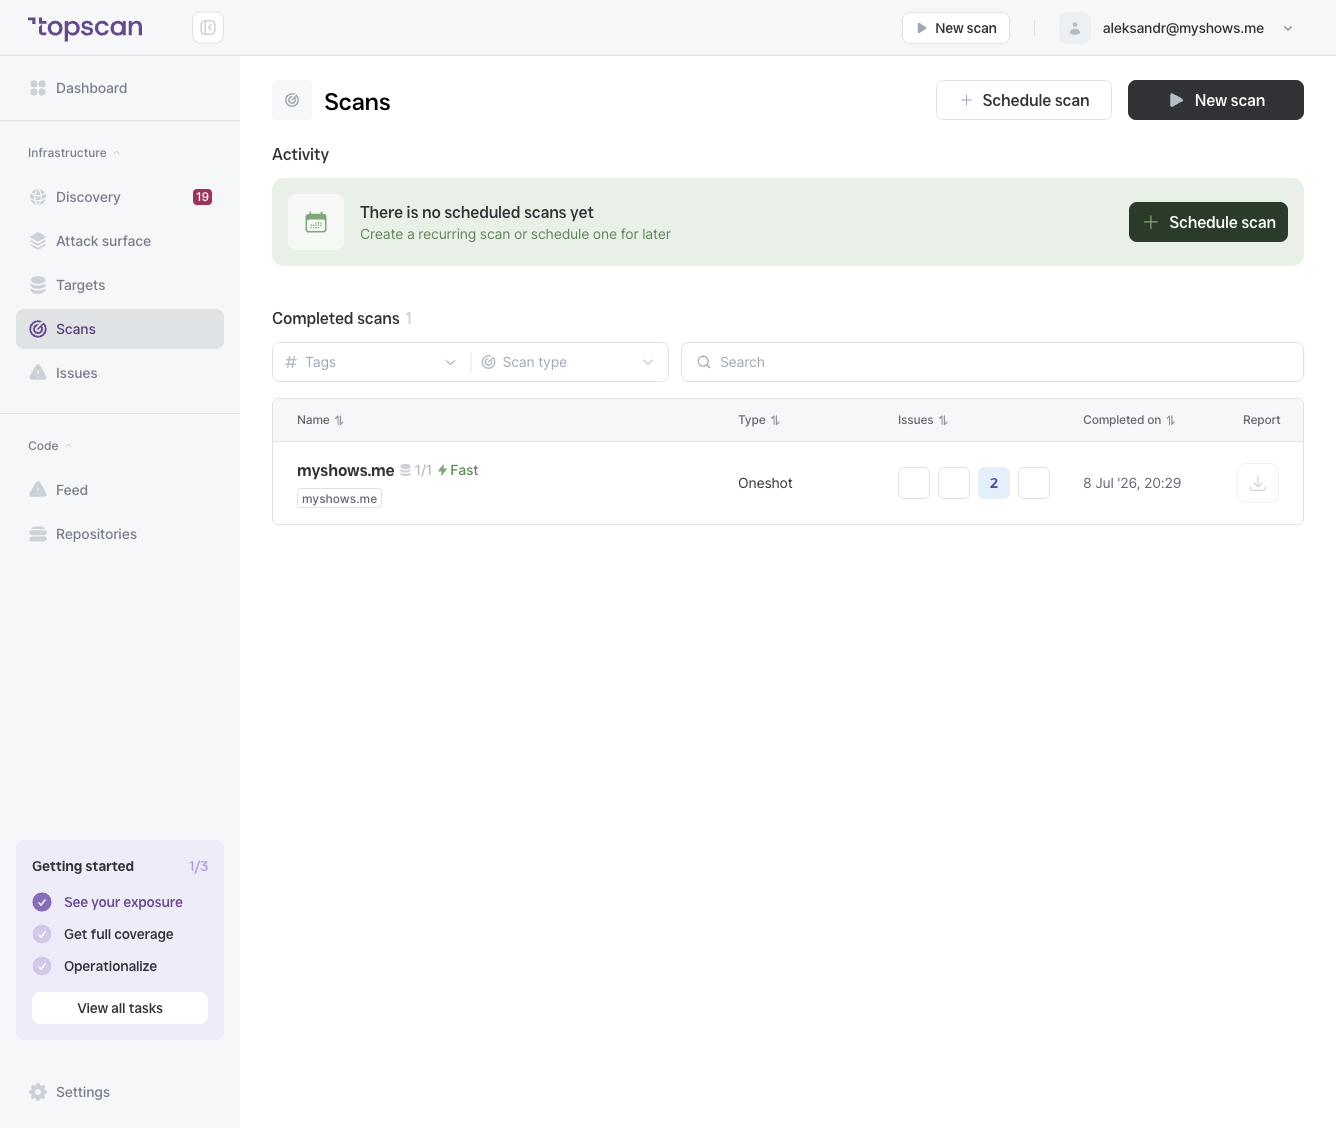
The Scheduled tab shows all active recurring scans with:
| Column | What it shows |
|---|---|
| Name | Scan name and targets |
| Last scan | When it last ran |
| Next scan | When it's due to run next |
| Schedule | Recurrence pattern (e.g. Weekly) |
From the ⋯ menu on each scheduled scan you can:
- Pause — temporarily stop the schedule without deleting it.
- Edit — change targets, scan type, or recurrence.
- Delete — remove the schedule permanently.
Recommendations for scheduling
- Weekly is a good default for most targets — it balances coverage frequency with resource usage.
- Use Daily for high-risk or actively developed targets where new changes are deployed frequently.
- If you add new targets to a tag used by a scheduled scan, they are automatically included in the next run — no need to update the scan.