
Adding targets manually
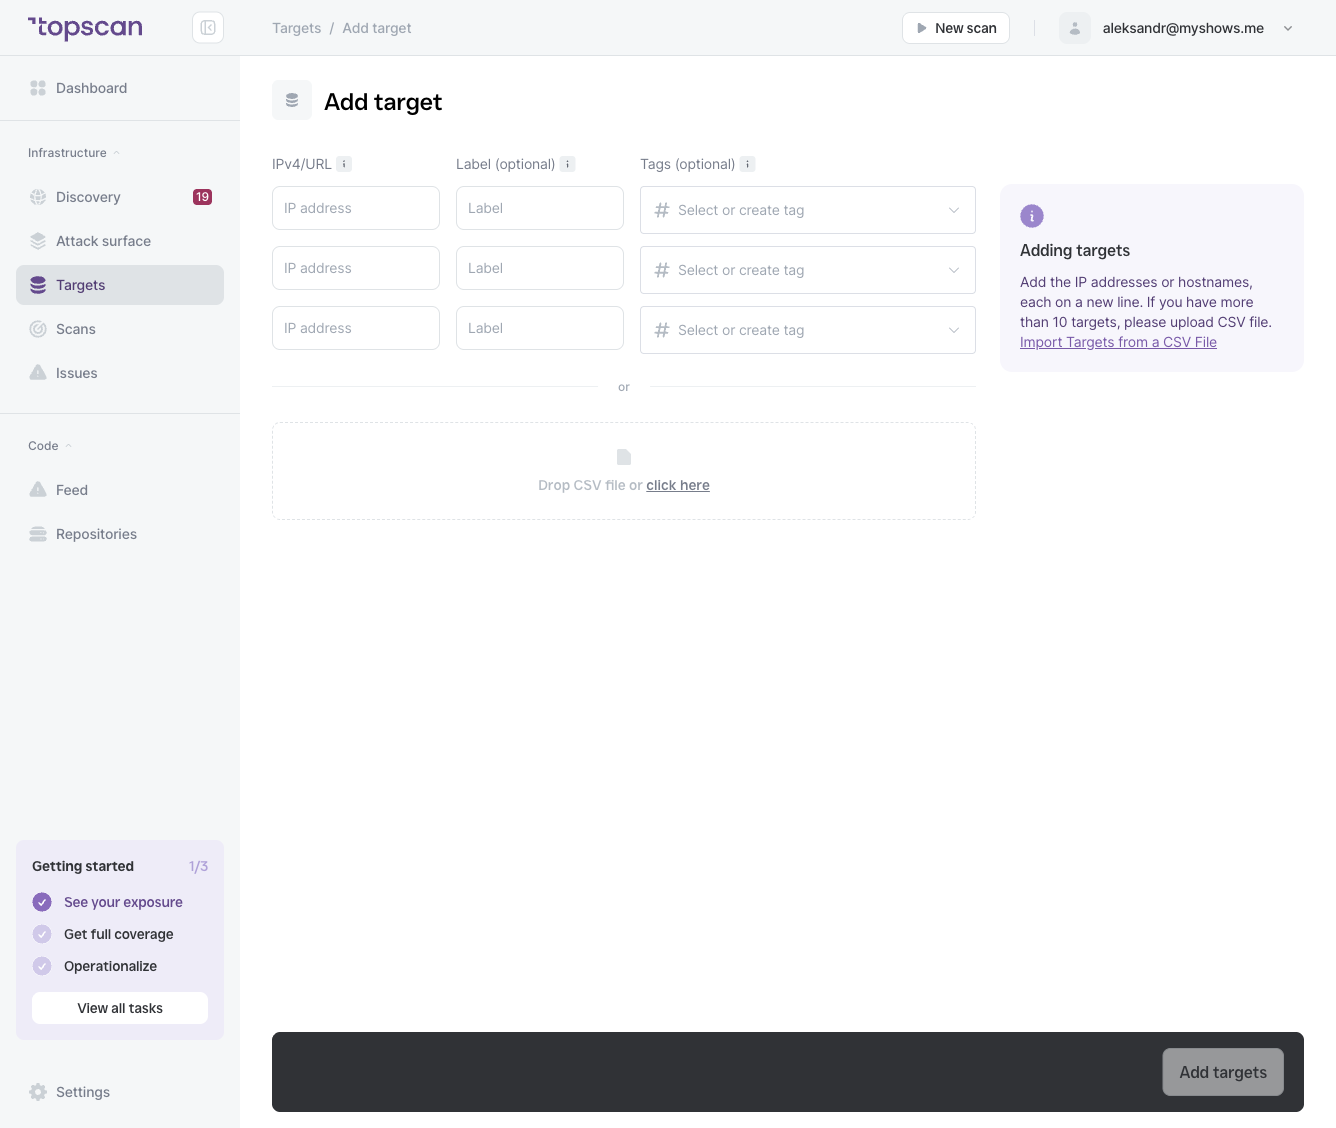
- Go to Targets in the left navigation.
- Click + Add target in the top-right corner.
- For each target, fill in:
- IPv4/URL — the IP address, domain, or subdomain to monitor (e.g.
192.168.1.1orapp.example.com). - Label *(optional)* — a human-readable name displayed in the interface instead of the raw address. Useful when the address alone isn't self-explanatory.
- Tags *(optional)* — one or more tags to group this target. You can select existing tags or type a new name to create one on the spot.
- To add more targets at once, fill in the additional rows. Up to 10 targets can be entered manually.
- Click Add targets to save.
Topscan detects the target type (Infrastructure or Web Application) based on what you enter, or you can specify it explicitly.
Adding targets in bulk via CSV
For more than 10 targets, use CSV import.
- On the Add target page, click click here in the drop zone (or drag and drop a file onto it).
- Your CSV should have one target per row. Supported columns:
address,label,tags. - Topscan will preview the parsed targets before importing.
A template with the correct column structure is available via the Import Targets from a CSV File link on the Add target page.
After adding targets
Newly added targets appear in your Targets list immediately. They will not have any issues or scan history until you run a scan against them.